Real Metal Robot Costume
For my recent 50th birthday I chose to have a
Robot themed fancy dress party. Over the years I have had various ideas
for a robot costume, and this seemed a good opportunity to bring them
together. Making it difficult for myself, I chose
to make a full metal costume.
Knowing that a metal costume was going to be
heavy and awkward, I started off by finding a cheap second-hand rucksack
on eBay. I chose a 1990s Karrimor one that I knew had a pretty
comfortable harness.
The rucksack was dismantled and cut apart to
leave just the essential parts. I then recreated all they key strap
mounting points onto a wooden frame that would form the inner chassis
for the costume. This took several attempts to get right.
I had to pay particular attention to the level it sat on the shoulders
so the head would function correctly.
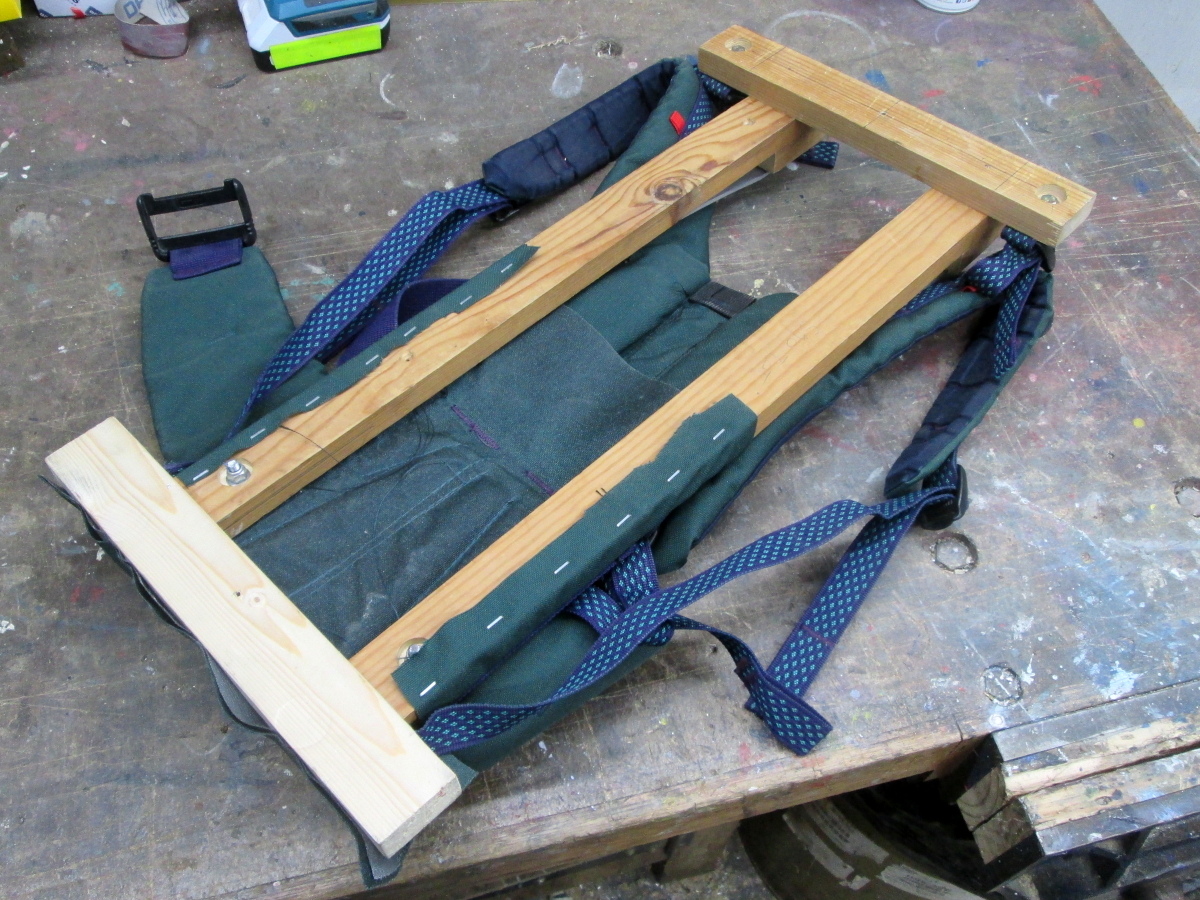 Modified Rucksack
 Once I had this complete I moved on to mocking up
the body and head out of cardboard. This enabled me to settle on
dimensions and particularly locations for arms and head.
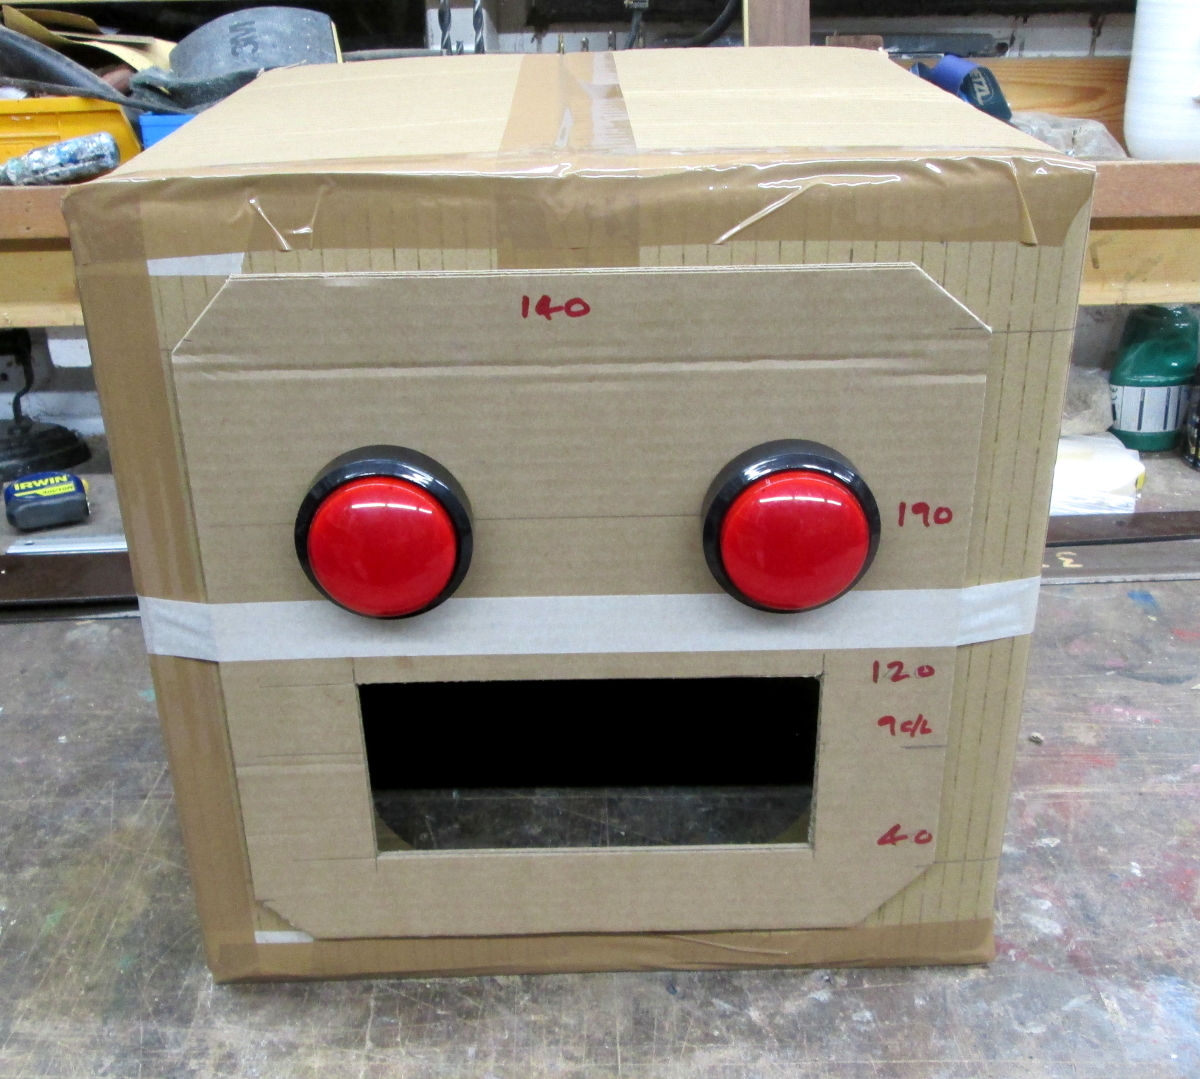 Cardboard Robot Head Mock Up
Once dimensions were decided upon, I moved on to
building the body. The majority is made from aluminium alloy (1050)
sheet in thicknesses between 0.9 & 2mm. Different thicknesses were
selected dependent on how structural the body needed
to be at those locations. Each piece was carefully marked out and cut.
Most parts were cut on my 3ft sheet metal guillotine, but curved parts I
used my electric jigsaw.
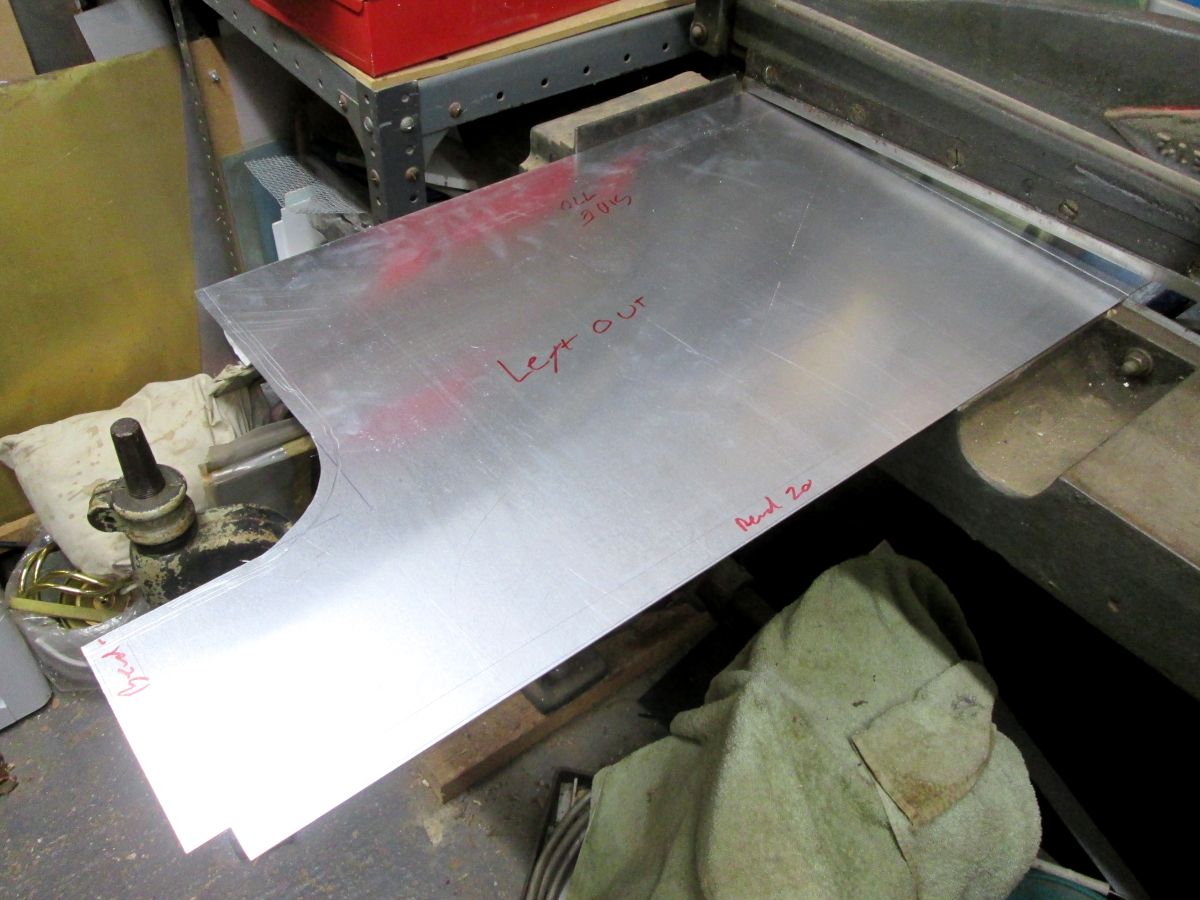 Cutting Components
As part of the aesthetic I was keen to
incorporate solid aircraft rivets. I was heavily influenced by the
Wallace and Gromit films for this.
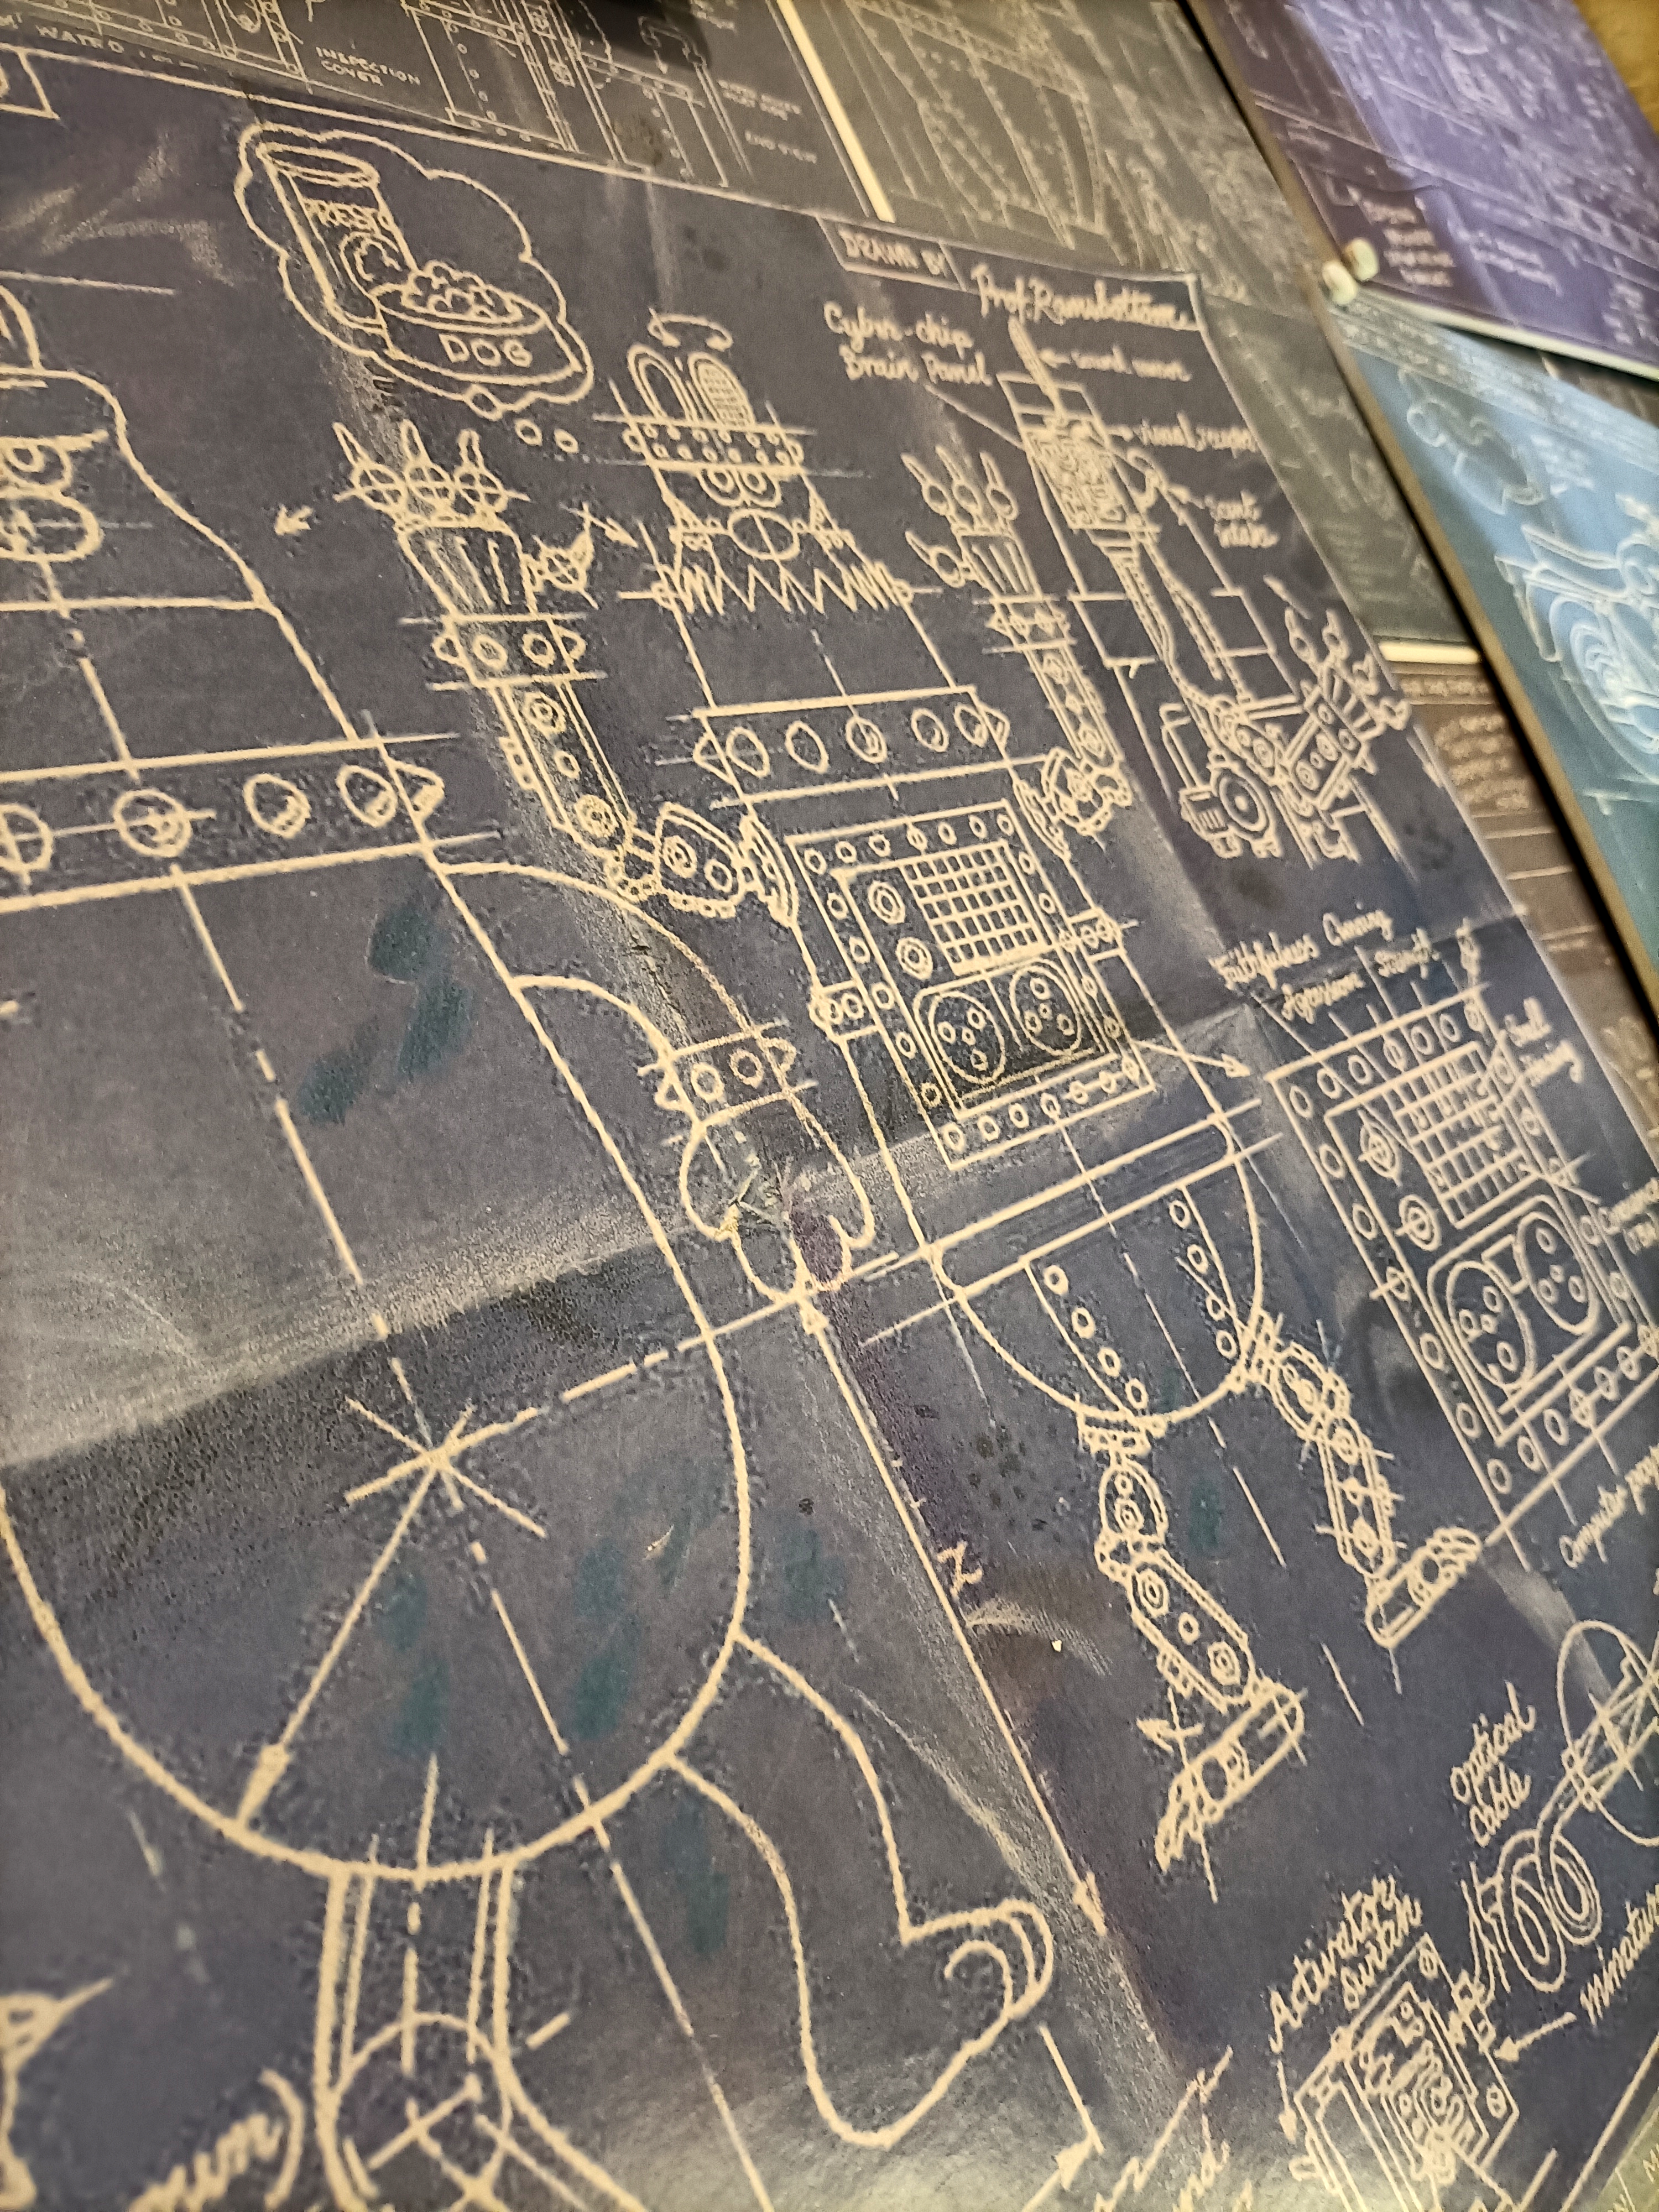 Preston Blueprint
A fence was set up on the pillar drill to enable
holes to be consistently drilled into the sheet aluminium. Once the
panels were all complete I then folded them up, mostly using my Gabro
folder, but supplemented with a machine mart simple
folder for longer bends.
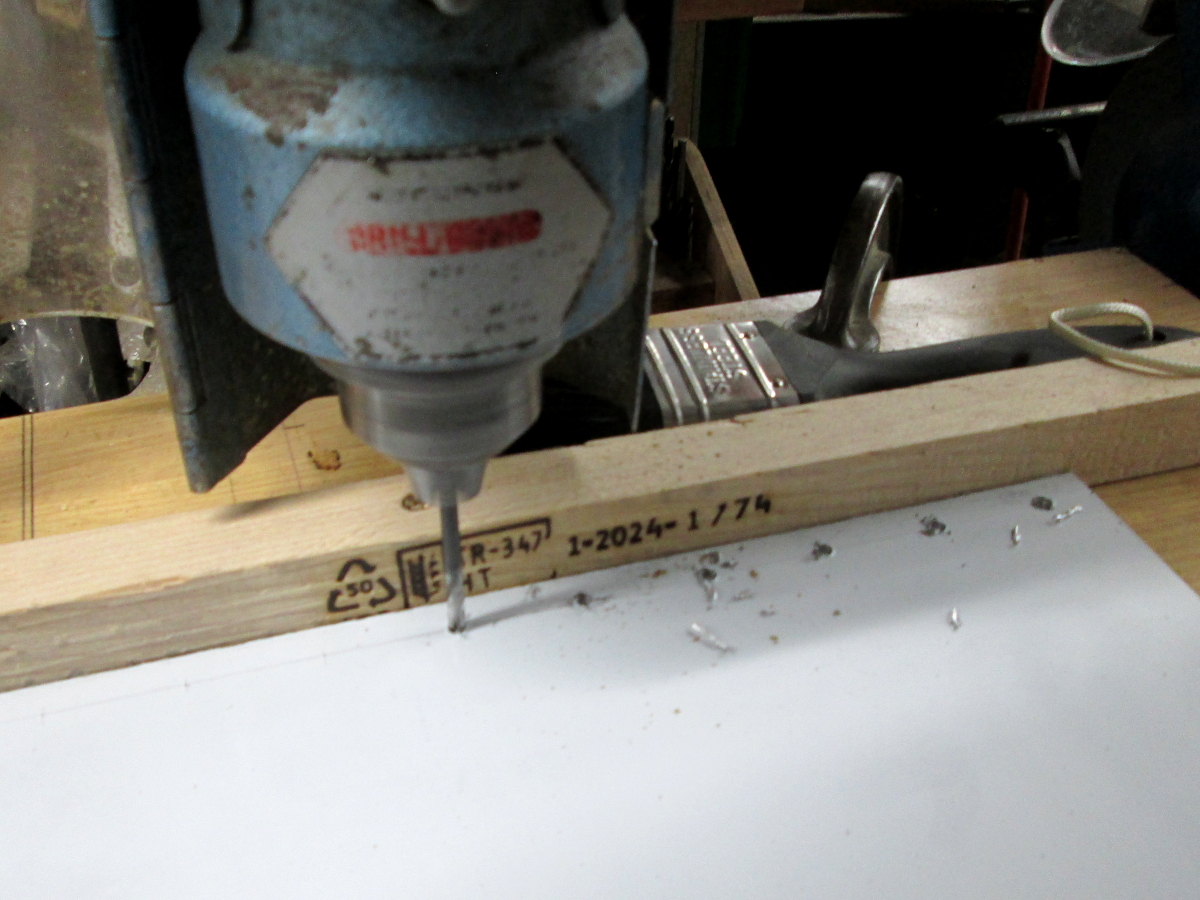 Rivet Hole Drilling
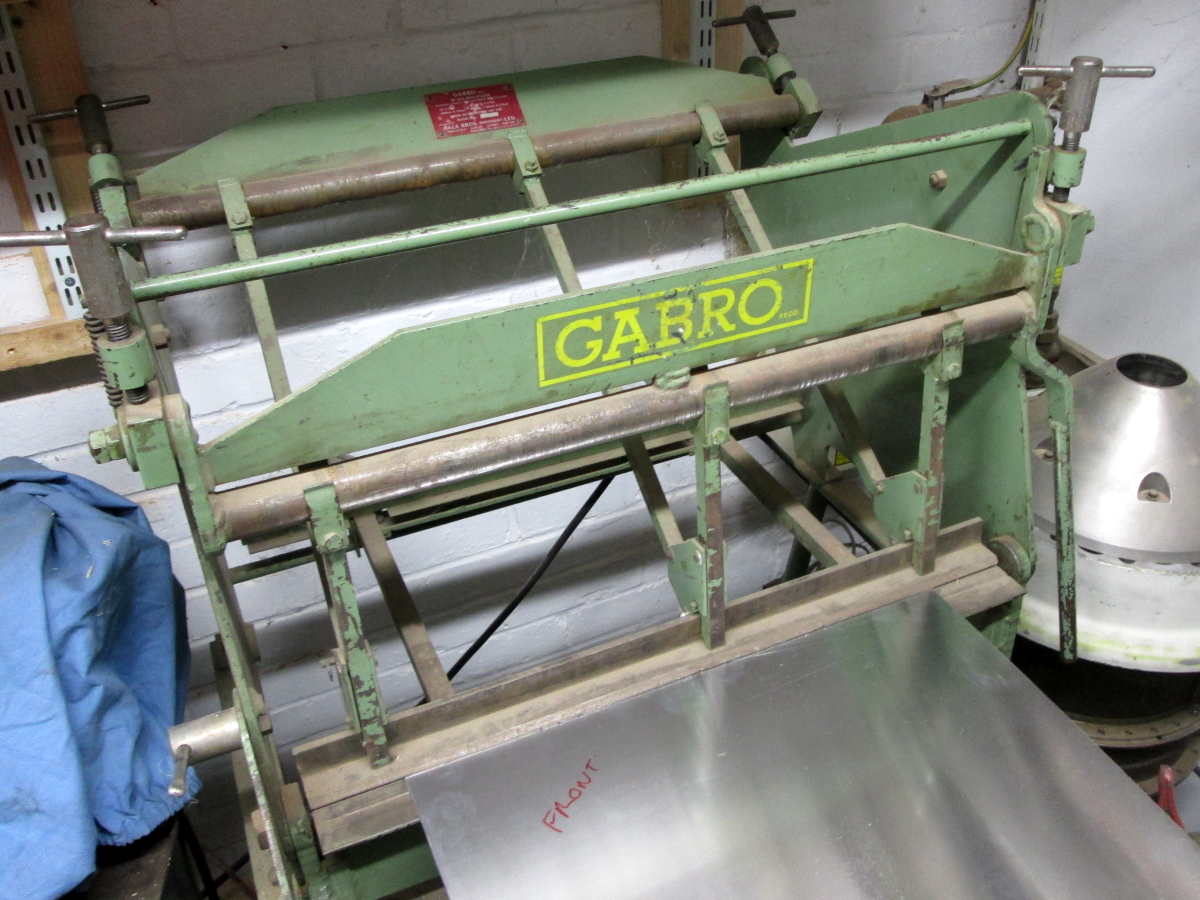 Folding Flanges
Once folded I could clamp parts together and
start riveting. I used an aircraft rivet squeezer to do this, drilling
off matching holes as I went. The rivets were surplus aircraft ones I'd
gathered up years ago, anodised purple so they had
good contrast with the base aluminium. This worked very well, but my
metalwork is definitely not up to aircraft standards!
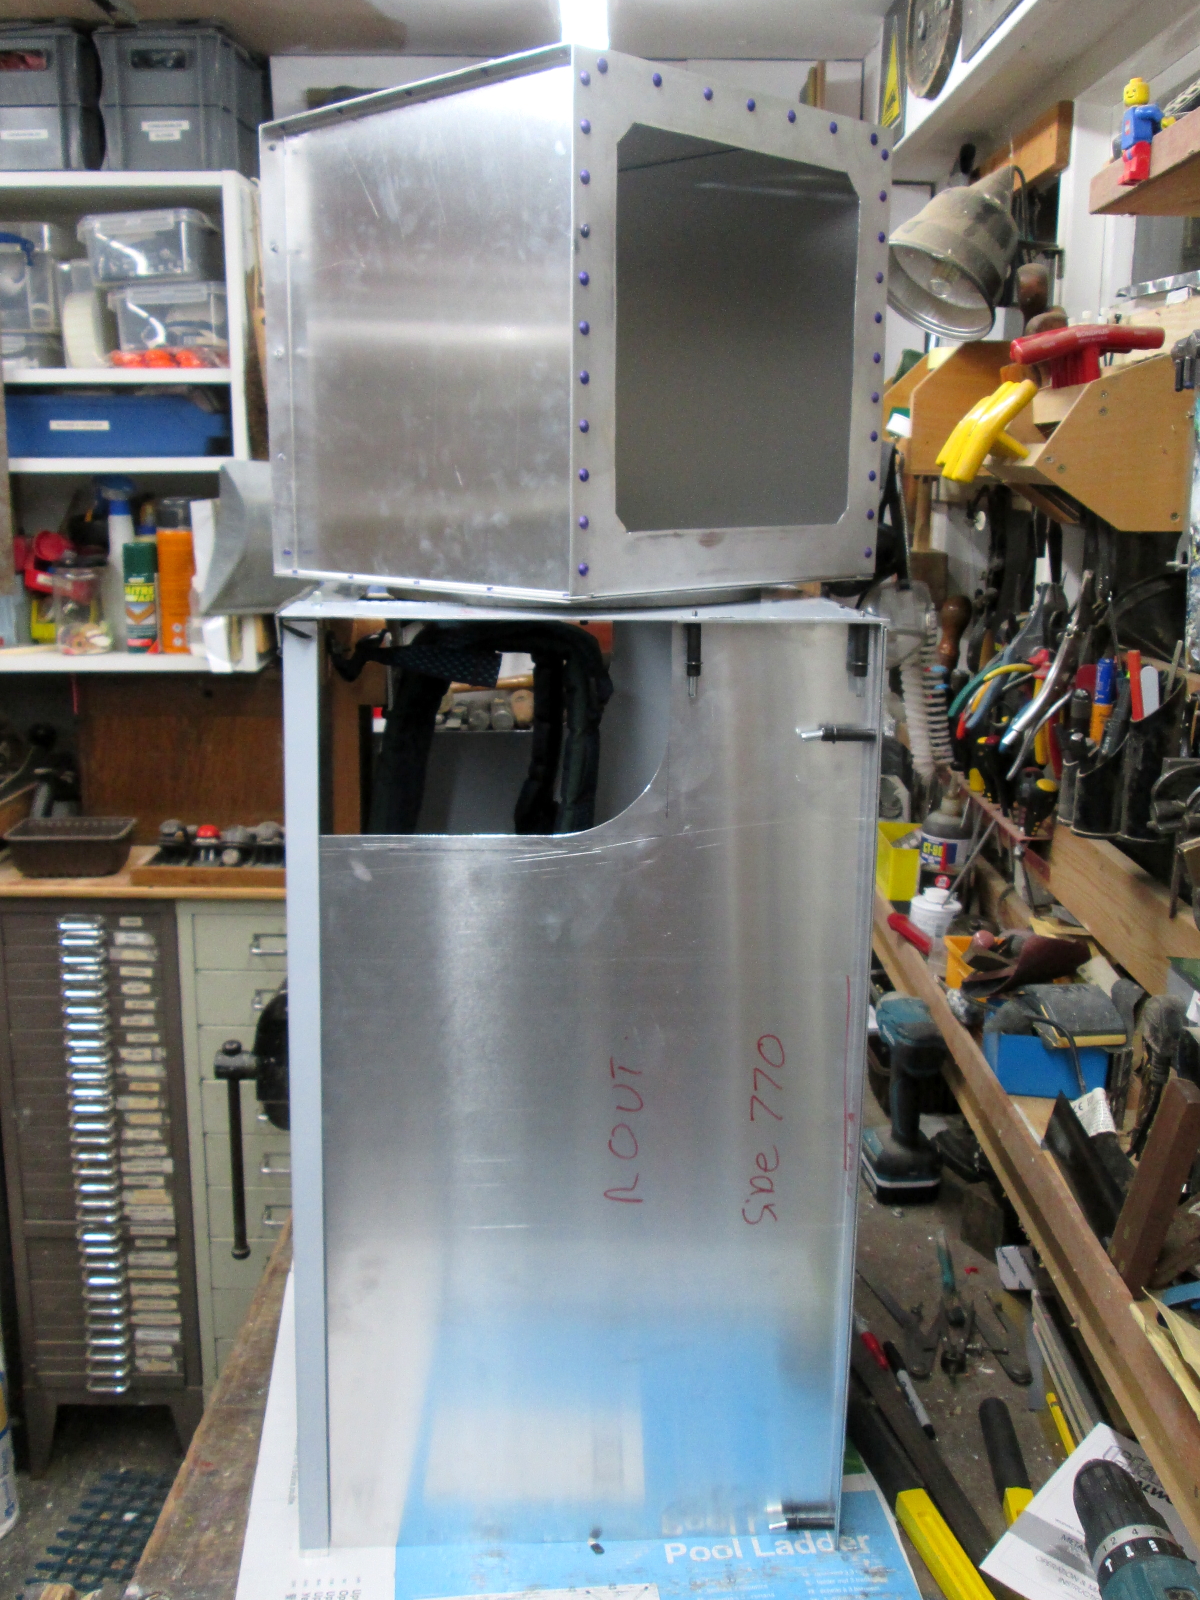 Robot Body and Head
The head was constructed in the same way as the
body. There were a few spots where I wasn't able to get access with the
rivet squeezer so reverted to installing pop rivets.
 Robot Head
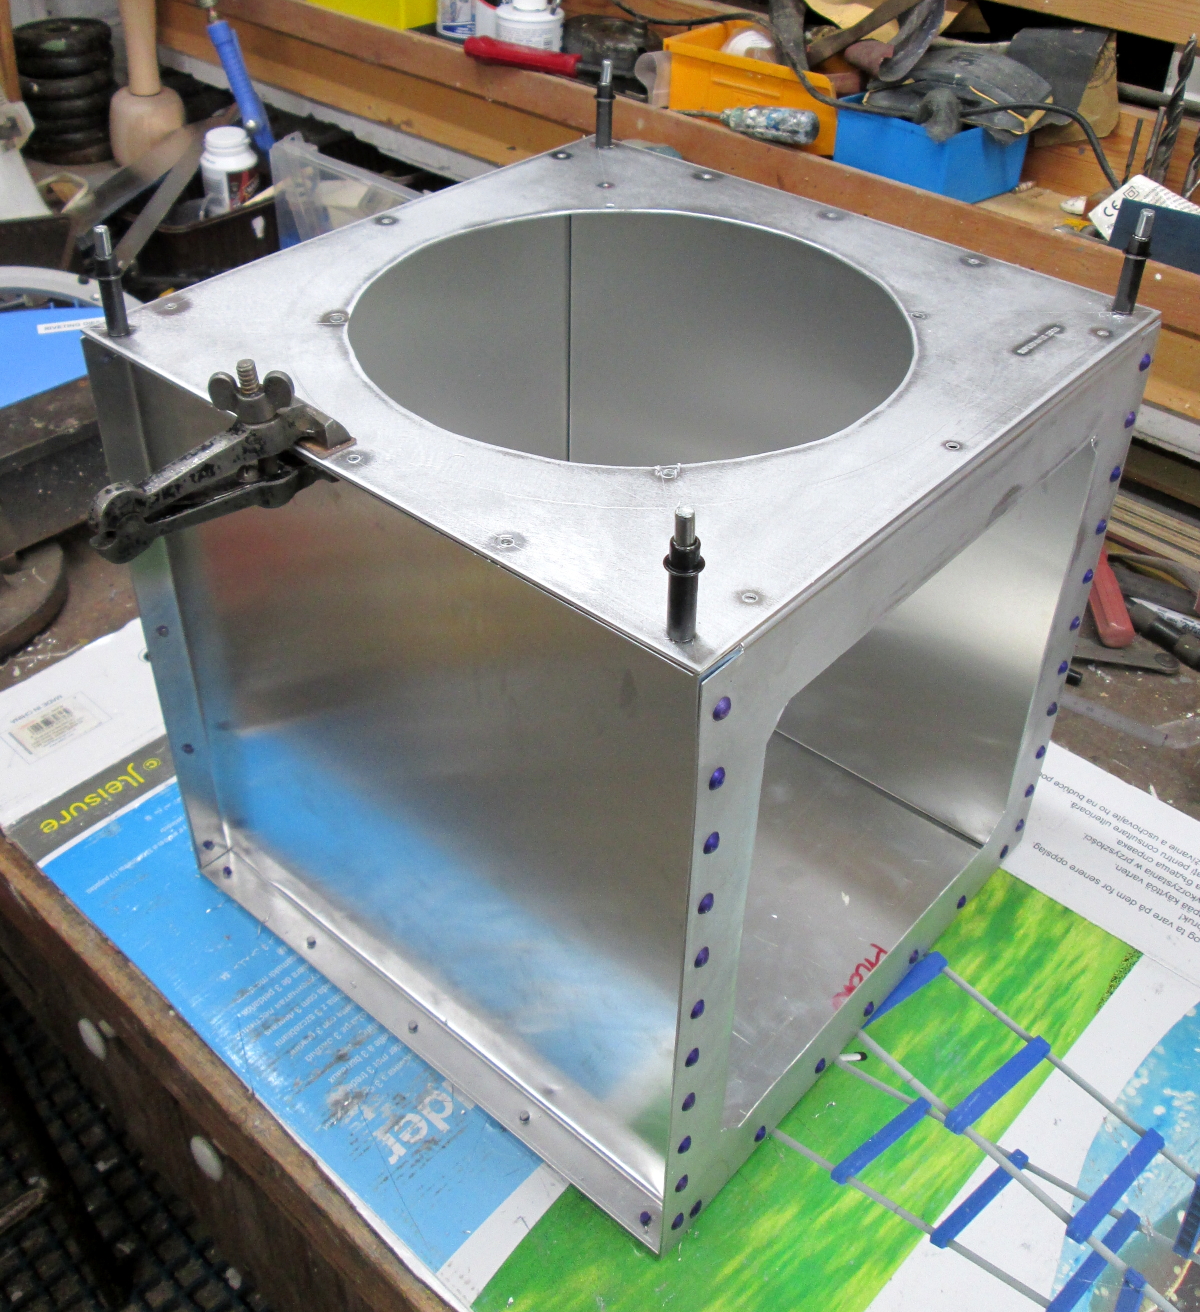
I wanted the head to rotate, so used a lazy-Susan
bearing to achieve this. The bearing was bolted onto the head with 4
bolts, fitted through some spacers so the bearing could turn unhindered.
In the other race of the bearing I tapped out
2 of the mounting holes and inserted some pins made from cut off bolts
that could then locate in holes in the top plate of the body.
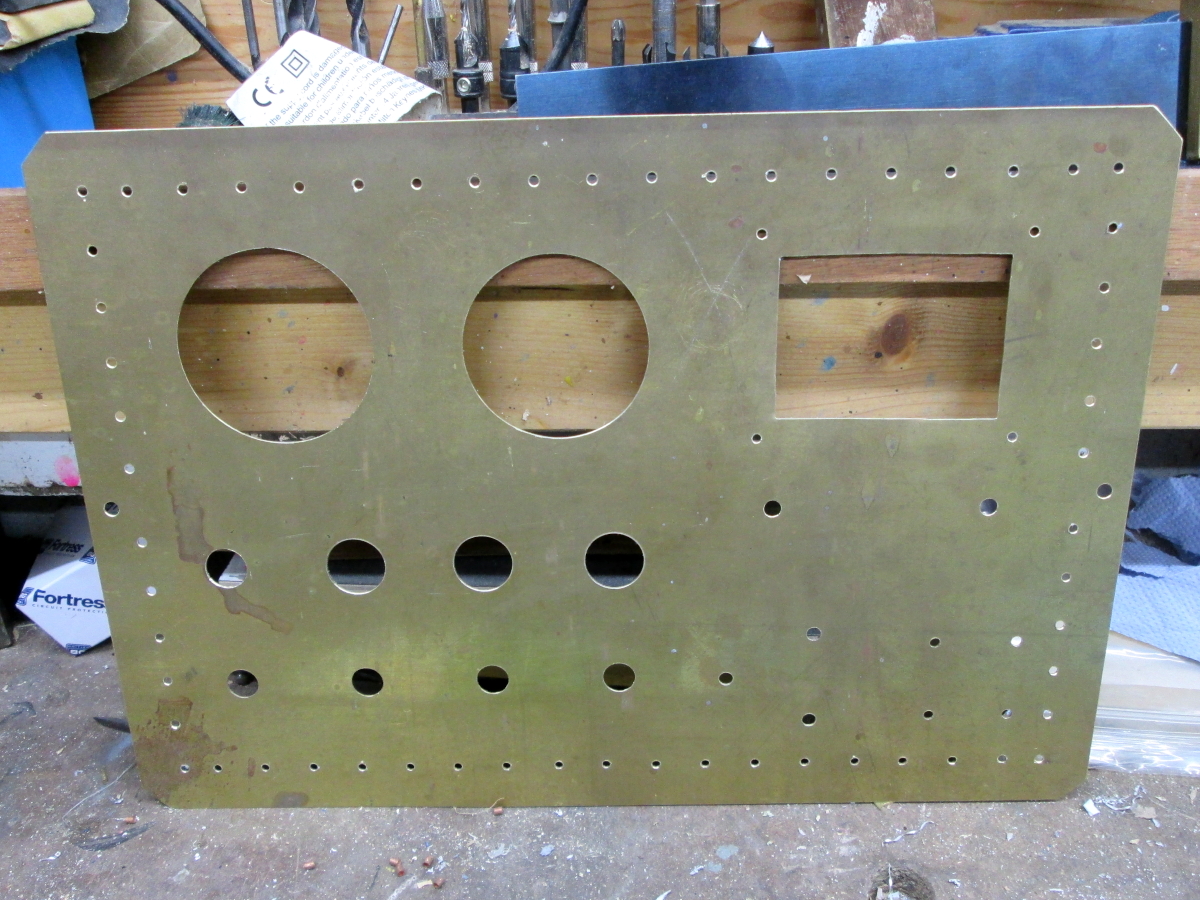
The main decoration was based around a plate on
the chest and the face made out of a piece of scrap brass. Around the
edge of these I fitted copper rivets and then polished these pieces up.
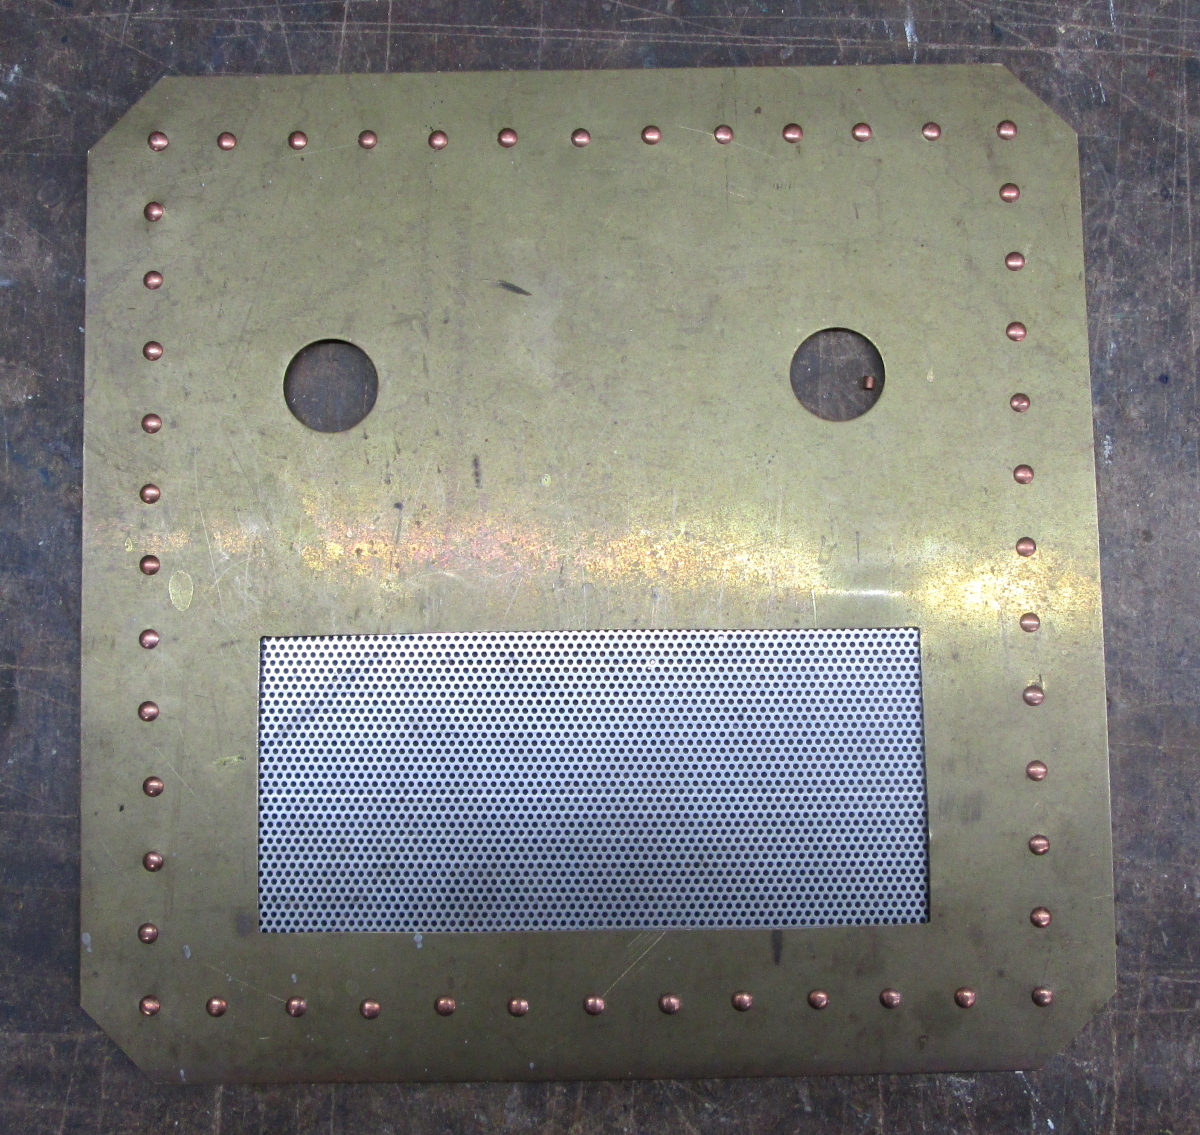
 Robot Body Control Panel
 The face had a large hole cut out with some
aluminium mesh bonded to it- this provided somewhere to see out of. The
eyes are arcade buttons. The faceplate is then fitted to the head with
magnets so it can be removed easily.
 Robot Face
The body control panel was fitted with a range of
greeblies from my stock of useful parts, including a couple of old
gauges, a screen from an oscilloscope, toggle switches, indicator lights
and other parts. This panel was secured to the
body with a couple of brass bolts and wingnuts.
 Final Assembly of Parts
The final embellishment was an 'aerial' on top of
the head. This consists of some electroluminescent (EL) wire in an
acrylic tube which was heated and shaped to form a coil and finished off
with a mil-spec connector on one end enabling
it to be connected to the head and a ball knob on the other end. The EL
powerpack is located in the head, secured with some Velcro.
To complete the costume I used a silver dance
catsuit as an under-suit. I supplemented this with some matching silver
gloves. I had hoped to build some EVA foam robot boots, but ran out of
time, so opted for some very chunky white gloss
boots I found on eBay instead.
To get into the costume, it wasn't going to be
possible to go over the head, so I fixed a back plate to the rucksack
frame, and the front is then latched onto it. This worked but was a bit
awkward so maybe a future upgrade would be to improve
this. Once the body is on and secure the head can be placed on top.
Mikebot wasn't a lightweight costume, but attaching it to a rucksack harness made it reasonably
comfortable to wear and dance in. Whilst it wasn't easy to make compared
to a carboard costume, it was worth the effort-
It definitely had the effect I wanted!
The main build took about 3 weeks of evenings. A
couple of extra weeks were needed to identify parts, trial the shape and
sort out the backpack harness. Future upgrades will probably include
adding some lighting.
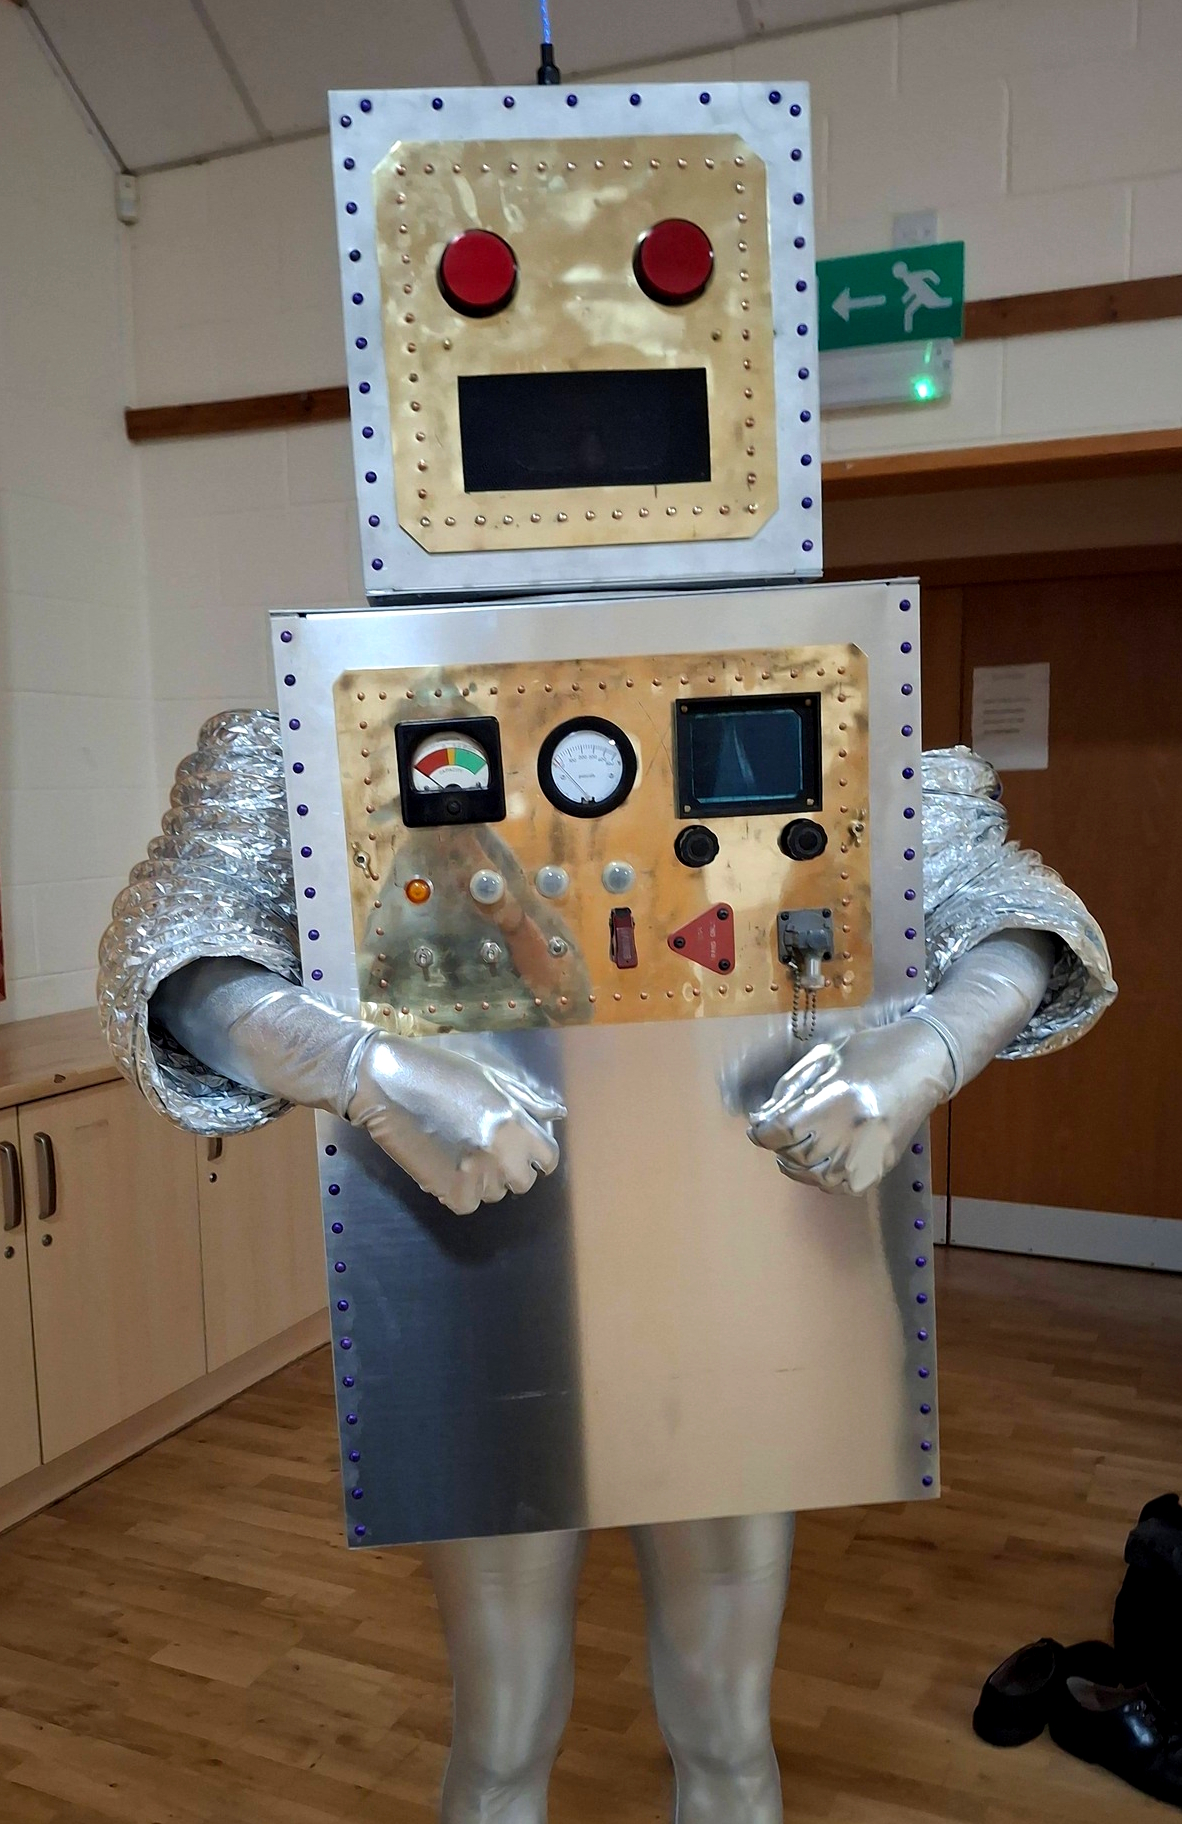

The Finished Costume Built Jan 2026
(c) M. Pantrey 2026