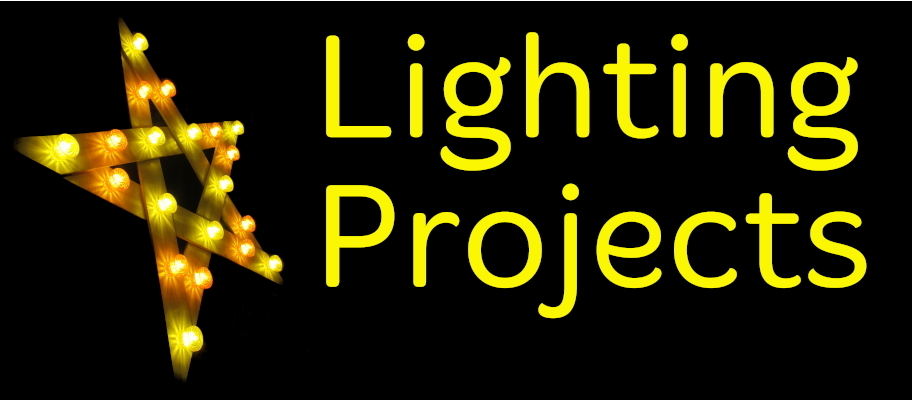
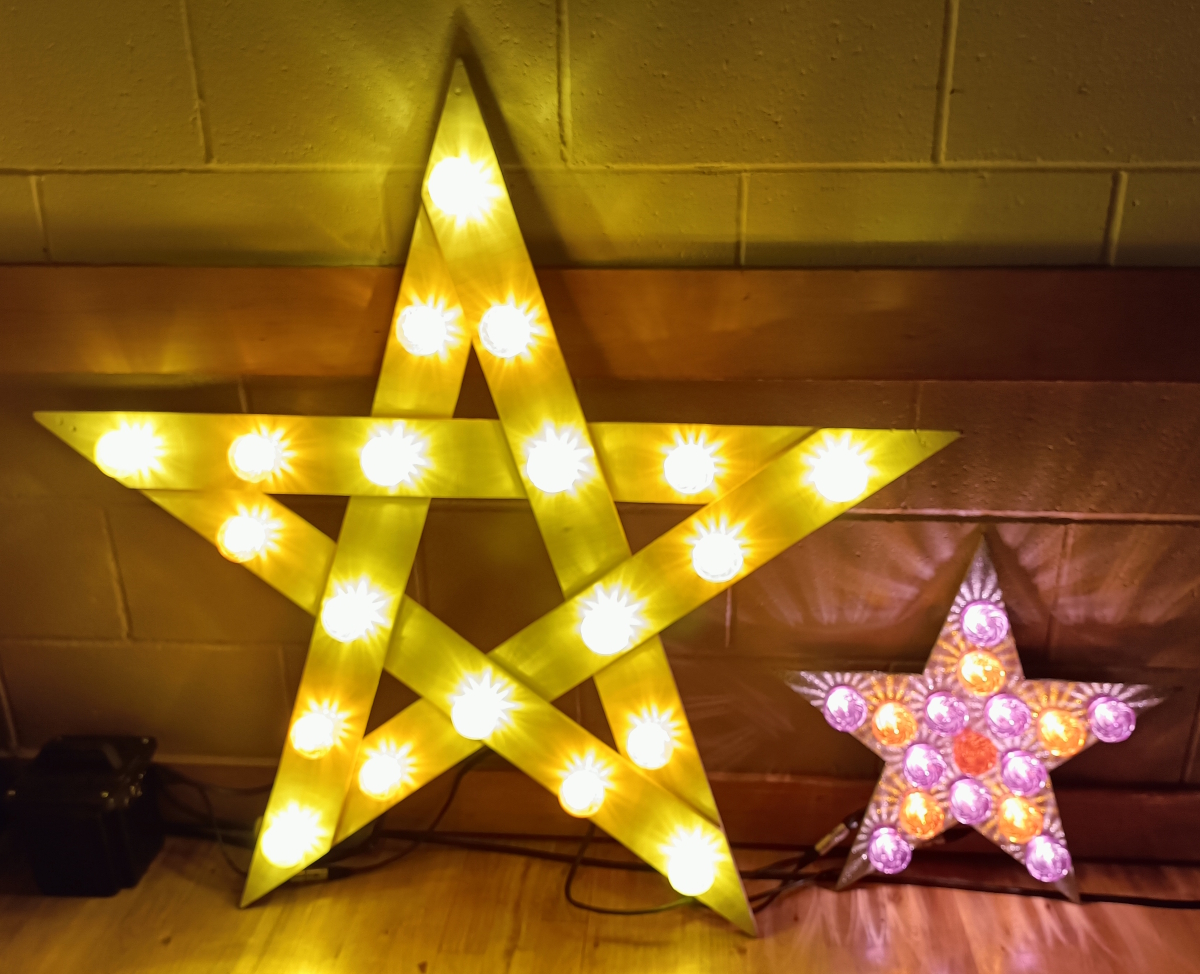
Finished Star Alongside Larger Star
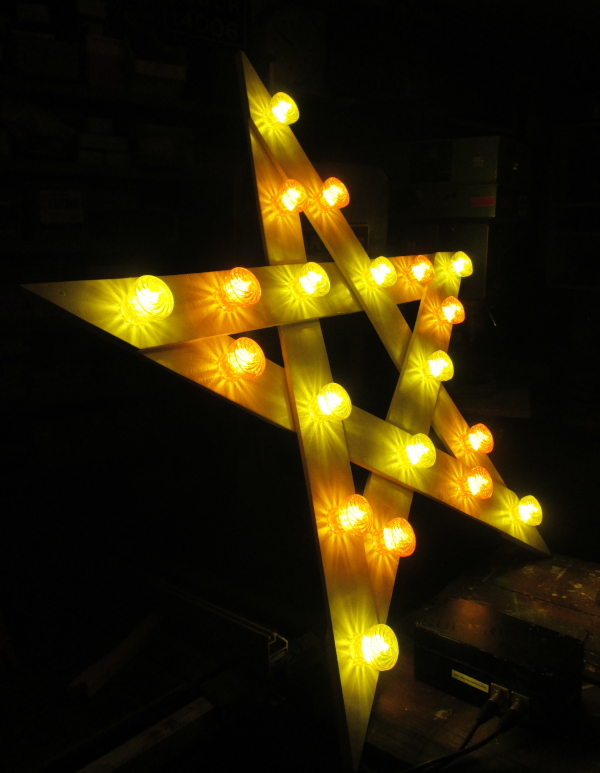
The Finished Star
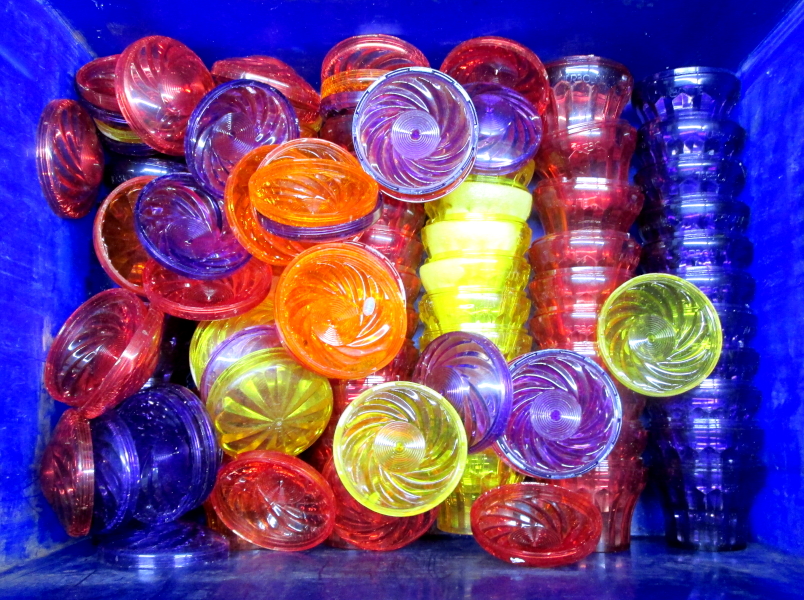
Cabochon lights as salvaged after a good clean
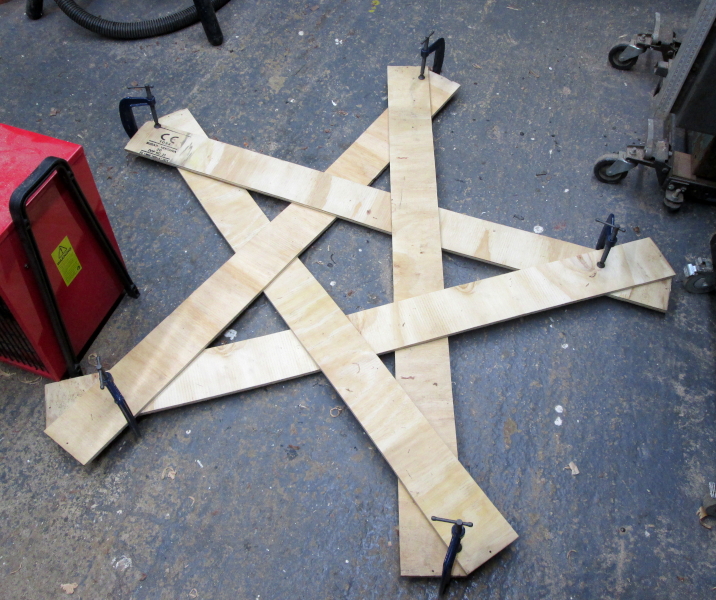

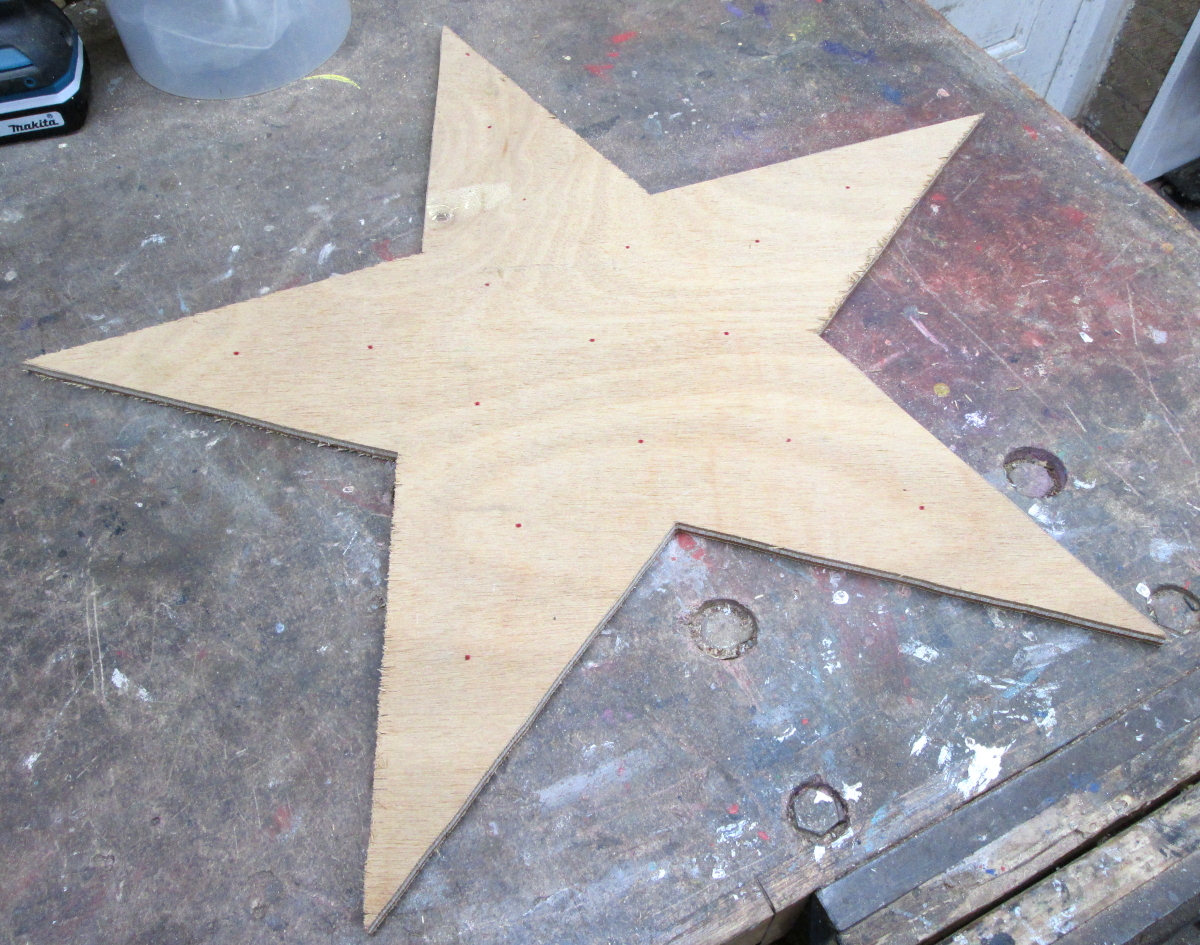
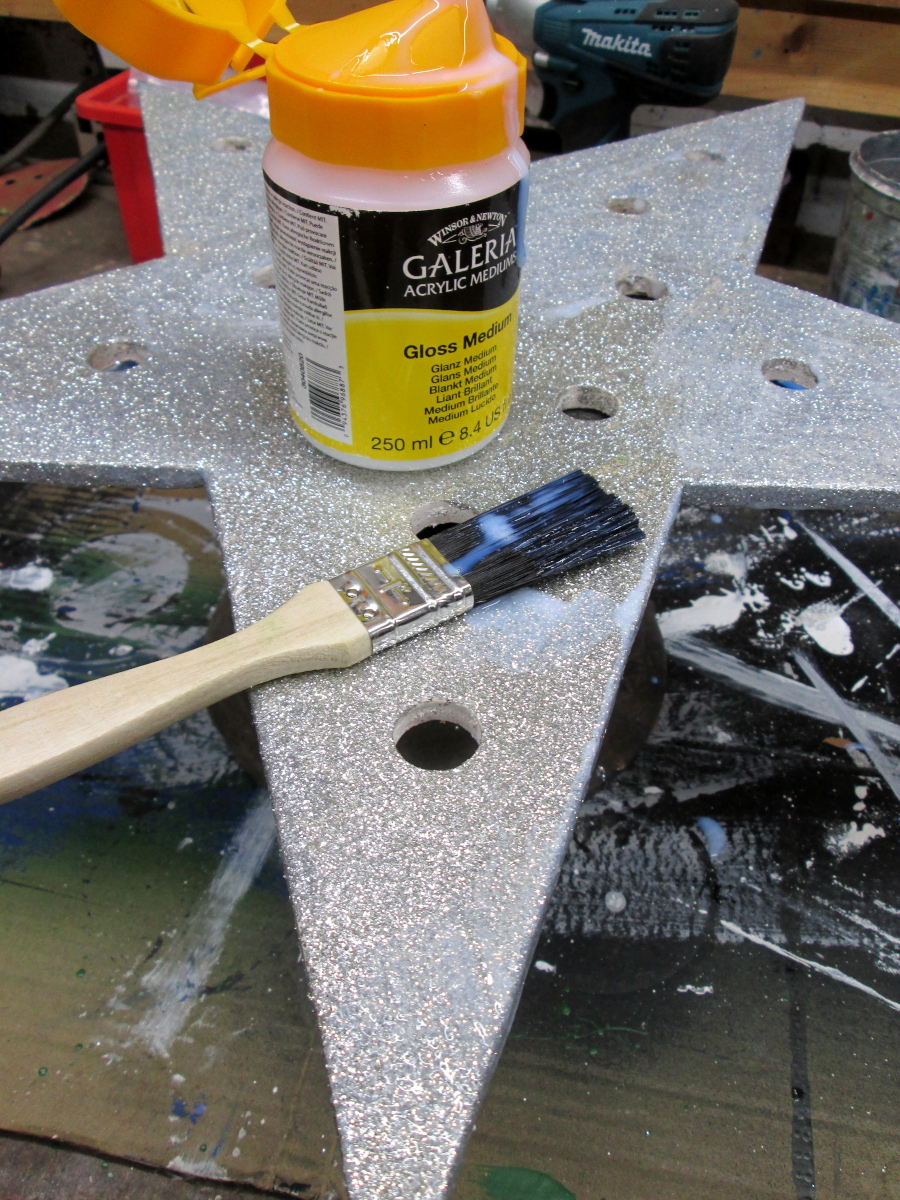
The star under construction
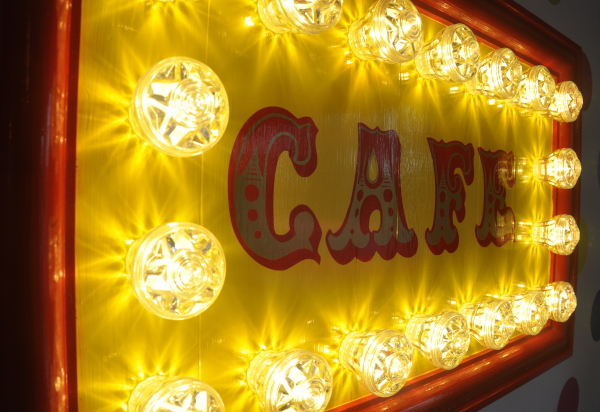
Fairground Inspired Playroom Cafe Sign
This was built for the newly decorated playroom, to go with our girls play kitchen.
The sign is fairly simple, consisting of a frame made from a dado moulding and pine boards salvaged from old drawers. I made no attempt to fill the gaps between the boards to give a bit of a vintage look.
The signwriting was done by cutting stencils on my Silhouette vinyl cutter and painting the base red, and cutting the gold accents from vinyl.The red is a signwriting paint which has more pigment than normal gloss and so only needs one coat.
The lights are genuine fairground lights, from an amusment equipment supplier: Rundles
Needless to say the girls loved playing Cafes!
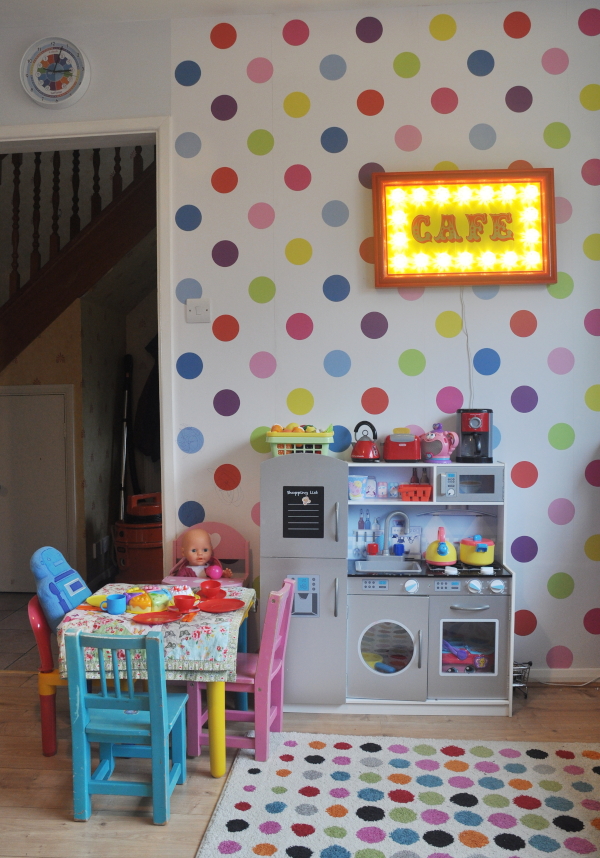
Finished Sign in pride of place above the kitchen
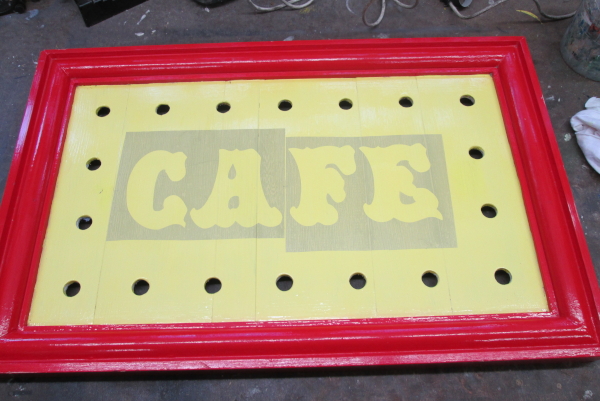
Setting out the lettering
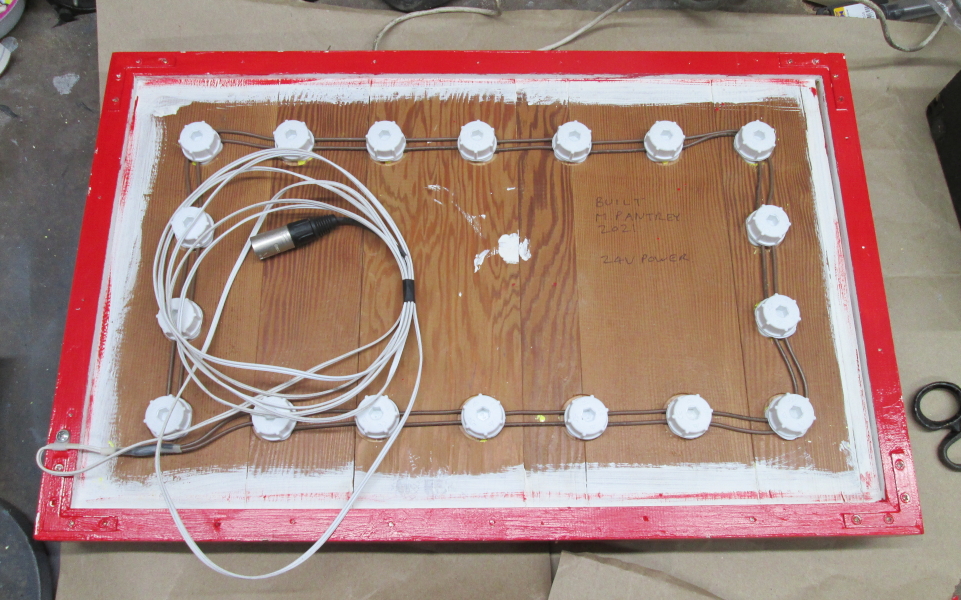
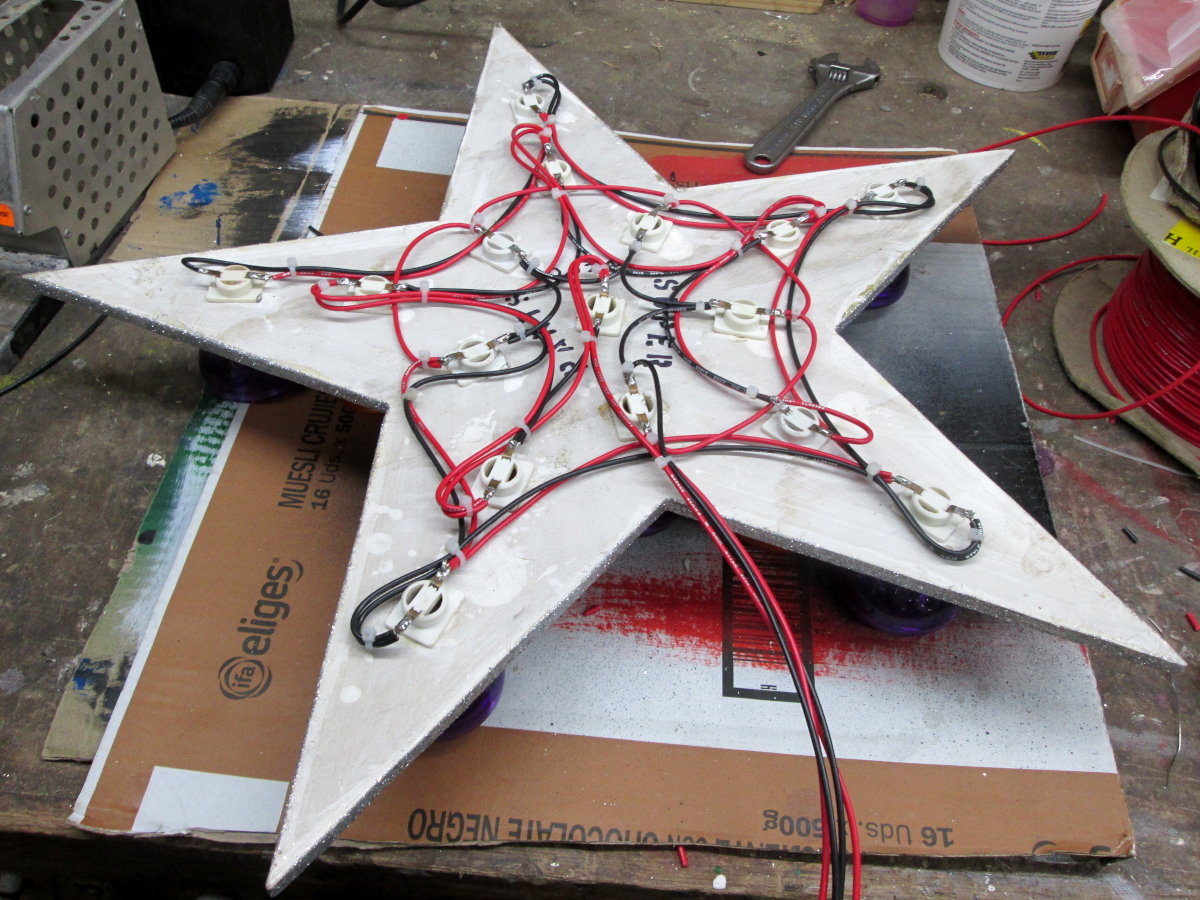
Rear view showing wiring
Explosion Proof Lights
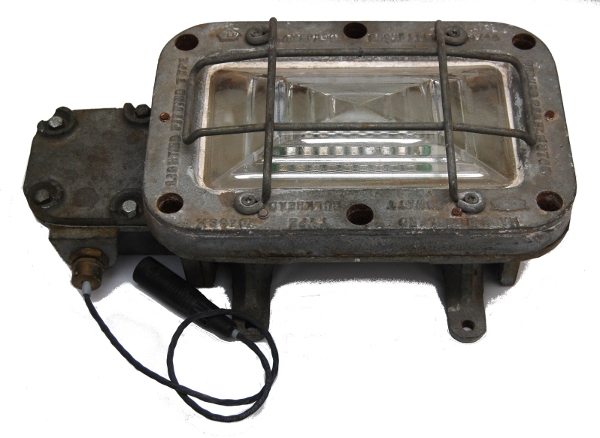
Some time back I found a pair of very heavy explosion proof
bulkhead lights in my usual scrapyard. These were filed under the massive pile
of projects to do for some time until I found some good LED kits.
You will find reference under some of the other projects on this site to ‘Big Clive’ kits and PCBs. ‘Big Clive’ supplies a kit for a really good RGB LED controller as well as bare PCBs in a number of styles- these are cheap, good quality and well thought out items, so I have made use of them in a number of projects.
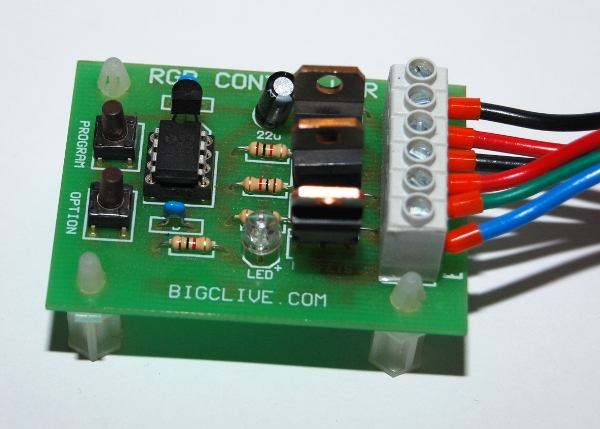
Big Clive kits from other projects
I started by stripping down the lamp units and thoroughly
cleaning them of years of accumulated dirt. To fit the LED parts in, I had to
make a couple of modifications- the main one being to remove ceramic
feed-throughs from the junction box to the main light chamber so that wiring
could pass through.
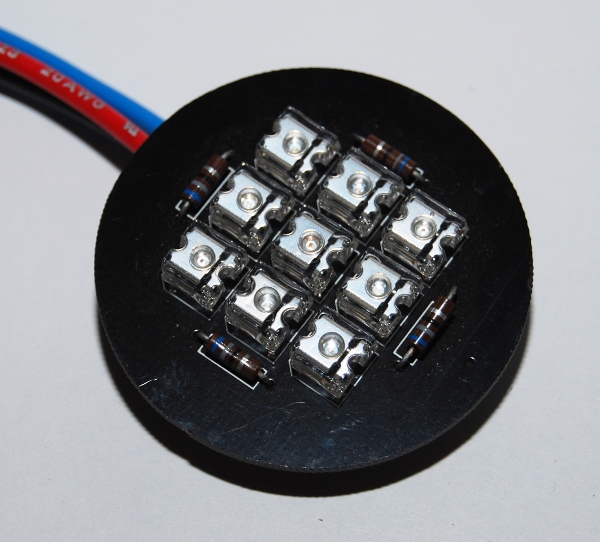
The two RGB LED boards were assembled, as was the control board. The control board was mounted in a diecast aluminium box, painted black and provided with a pair of connectors- a 3 pole XLR plug for power input and 5 pole XLR for RGB output. The system is set to operate at 12V as power supplies for this are simple.
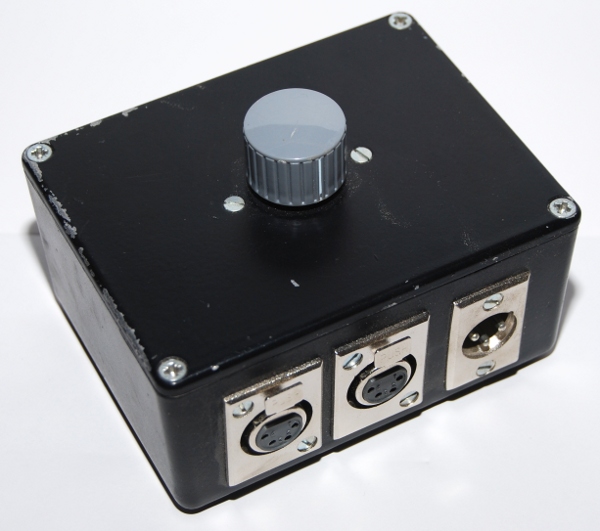
Control Box
The RGB boards were mounted using some salvaged stand-offs to a scrap piece of aluminium, along with a small terminal block. This assembly in turn is bolted into the casting using the existing screw holes from where I removed the original lampholder. The wiring is then fed out through a brass gland. Connections are made via 4 core cable I laid up, connected with 5 pin XLR connectors.
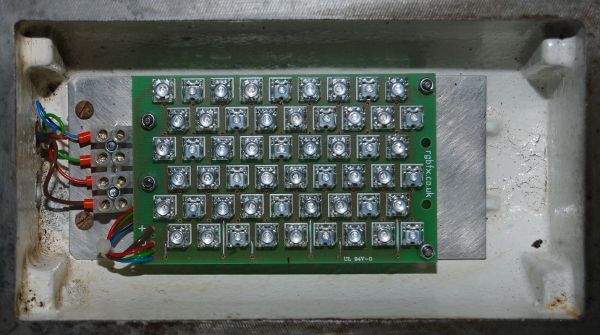
Lamp Internals
Finished Lamp Assembly
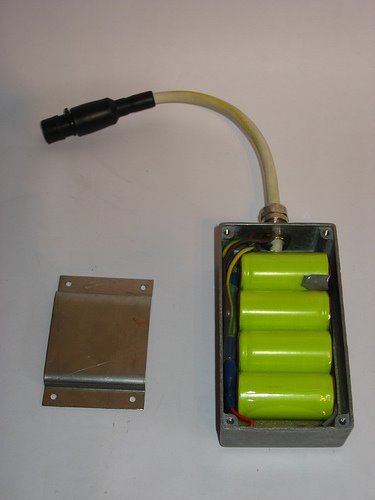
Internal view of battery pack
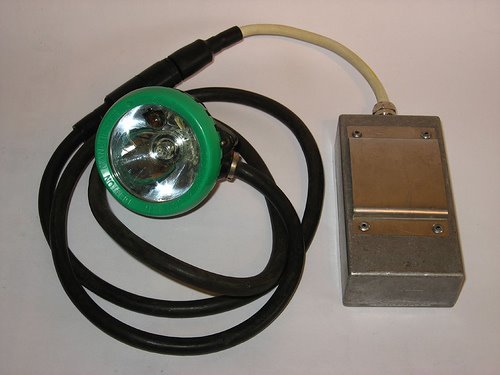
This is one of a pair of Oldham mining/ caving cap lamps given a new lease of life. The lamp unit was bought for a few pounds from ebay, and cleaned of loads of ingrained coal dust. The bezel was replaced with a new spare from Caving Supplies in Buxton.
The original lead acid battery was dead and couldn't be revived so I made a new battery box containing a 4.8V 3.3Ah NiMh battery pack, and a diode to dring the voltage down to closer to the 4V that the lamp should run on. The unit is not completely sealed, but could be if required- the box housing the battery is a diecast one purchased from maplins. Thin foam is used in the lid to stop the battery moving round. The gland is one i had removed from some scrap piece of equipment, and the cable is a rubber covered type to give good flexability. the Bracket is made from a scrap piece of stainless steel rescued from a skip, and held on with some pop-rivets.
A cannon sure-seal connector is used to join the battery pack to the lamp and to allow charging. I chose the sure seal as it is waterproof when used with the right size of cable, is relatively cheap and robust. It is a push fit connector, so will seperate without damage if the cable is badly snagged.
Battery life is about 3hrs, so this light is only used for simple, short dry mine exploring- I have superceeded it with a more modern LED light for day to day caving use.
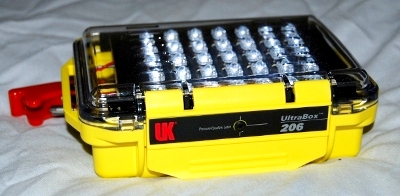
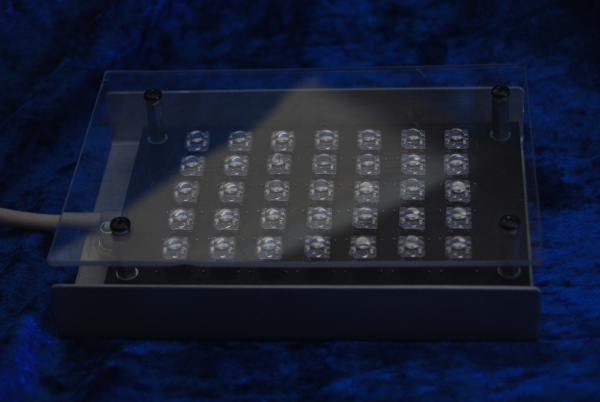
This project was built to provide an even, bright waterproof
floodlight to use for cave photography. It had to be waterproof and robust to
suit being dragged through a cave, be bright as practical and give a good
colour rendering.
The sort of images I have been able to capture have been like this. More photos are available on my Flickr pages. Underground Images

UV Lighting
LED UV light